Art 235 | Graphic Design
Lesson 08
Project 02 | Logo Project
Step 05 | Final Submission
What are we doing?
Produce the final draft of the Logo Project booklet with documentation. We will also compile the final workbook, Behance post, AV presentation, and a 200-word summary of how the project went. For your final submission, you should include the following in a blog post:
- A link to your images hosted on Behance (50%)
- An AV presentation highlighting your project (15%)
- A 200-word summary overviewing your project experience (10%)
- Upload your complete workbook for Project 02 to I-Learn as a PDF. Do not include it in your post. (25%)
Title your post “Final Project Submission.” To submit your project, open the assignment submission page by clicking Open, attach the PDF of your workbook, and paste the URL from your blog post into the comments box.
Logo Project Objectives
- Focus on learning to combine things as part of the creative process.
- Generate 3 logos that combines the two words into believable companies.
- Logo Project: Overview
Why are we doing it?
- Learn to refine work based on feedback and critique (survey results, peer review)
- Document your design process (workbook)
- Present final project professionally on the Web (Behance)
- Present final project visually and verbally (Jing)
How are we doing it?
Refine and Polish
This is the final opportunity to make any changes before grading. Revise your logos, Behance, Workbook, and Jing presentation.
Final Project 02 Workbook
The workbook should be organized and designed. The sketches below are to be used as a minimum guideline. If you need additional pages, please feel free to add them. Any steps that you revised can be added in addition to the assigned pages. The purpose of the workbook is to show your process. Make corrections in spelling, visual layout, and content throughout the final workbook before posting it to your process blog in WordPress.
Include the following pages in the final workbook:

Title page, including: Project Title, an introduction of the project in your own words, and your name. Always use the right-hand page for the title page.
Portfolio Spread: This shows the completed project in its best light. Show the logos with a title and a short description of the project. It should stand alone if you aren’t there to explain it.
Process Blog Post 1: What is a logo, and why is it important for you to understand what it is at this time in the project? | Noun and Business lists, with the 3 combinations you chose
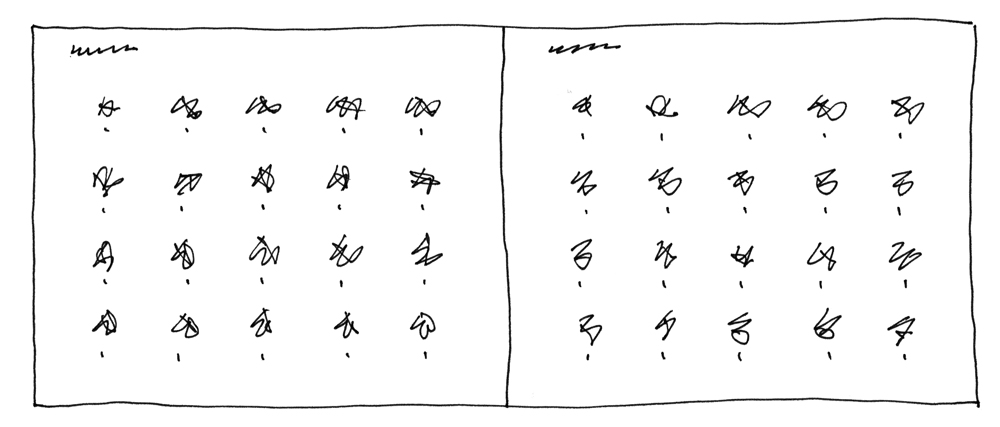
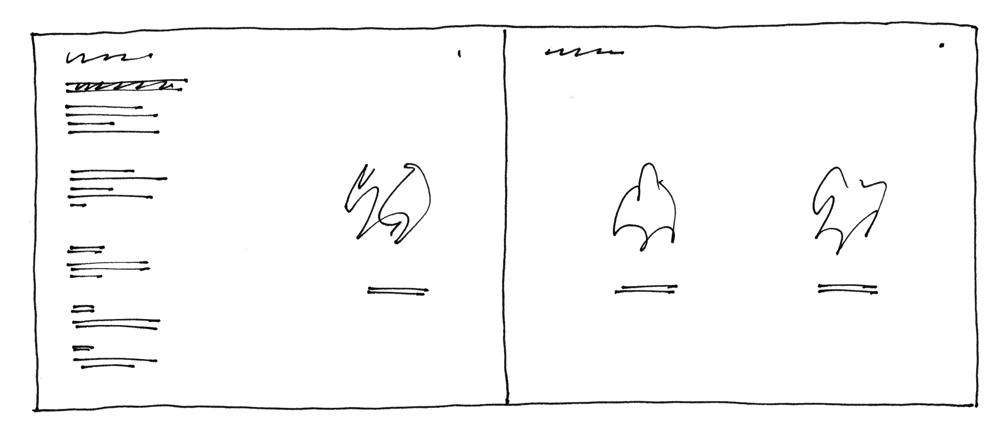
20 sketches for combination 1, indicating your 3 most successful ideas | 20 sketches for combination 2, indicating your 3 most successful ideas

20 sketches for combination 3, indicating your 3 most successful ideas

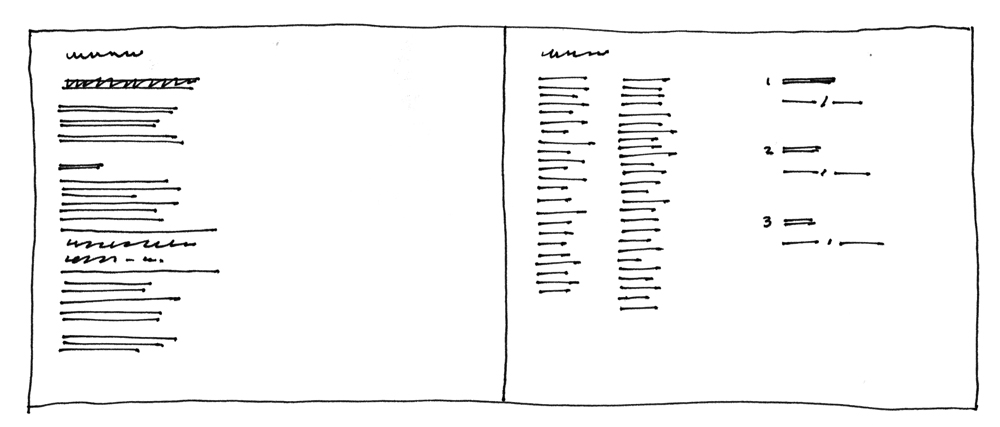
Process Blog Post 2: What were the three design principles you used in creating your sketches, and how did you use them? | 3 digital sketches for combination 1, indicating your most successful idea

3 digital sketches for combination 2, indicating your most successful idea | 3 digital sketches for combination 3, indicating your most successful idea

Blog Post 3: What are three desirable attributes of a logo, and how did you apply these attributes in your logos? | One page with all three final logos

Blog Post 4: What was the biggest surprise you discovered while completing the survey? | Portfolio Spread, featuring the poster and infographics you created

Conclusion Blog Post for Project 2
Behance Post
A portfolio blog post is different than a process blog post. The purpose of a portfolio blog post is to present your final project in a manner that you would show it to a client/employer.
The post should be designed and encourage a reader to engage. Include paragraph breaks, subheads, or other typographic elements to make the post visually accessible.
AV Presentation
Learning to present and sell your design work is a skill that is developed by making presentations. At the end of each project, you will be expected to make an audiovisual presentation to explain your work. The presentation should show the steps you took to get to the final piece, be voice narrated, and may not exceed two (2) minutes in duration. You are free to use any means to create the presentation. Your presentation should show your work in its best light.
Remember to include the following in your presentation:
- Beginning | An opening statement that defines the problem being solved, including three adjectives.
- Middle | Go through the adjectives one at a time, describing how you solved the design problem.
- End | Restate the design problem and conclude with a definitive statement that includes the three adjectives.
- A short presentation in PowerPoint or Keynote (be sure to keep it simple)
- Length | 1–2 minutes
If you need more specific information on creating an AV presentation (using Jing), see the instructions under Lesson 3 in Week 2.
When you are finished with the presentation, make a new blog post in WordPress and copy and paste the link from Screencast (or other video streaming site). In the same post, answer the following questions:
- Would you put this in your portfolio? Why?
- If you could do your project all over again, what would you do differently?
- How does the poster design add to the overall effect of the project?
Peer Review
After you submit the final post for each project, review and critique each of your team members’ Final Logos in WordPress. Comment and provide feedback using the following rubric:
|
Score |
Category |
Criteria |
|
1–10 pts. |
logo 1 | visual uniqueness |
Rate the uniqueness of the overall look and feel.
|
|
1–10 pts. |
logo 1 | strength of communication |
Rate the clarity of the overall communication.
|
|
1–10 pts. |
logo 2 | visual uniqueness |
Rate the uniqueness of the overall look and feel.
|
|
1–10 pts. |
logo 2 | strength of communication |
Rate the clarity of the overall communication.
|
1–10 pts. |
logo 3 | visual uniqueness |
Rate the uniqueness of the overall look and feel.
|
1–10 pts. |
logo 3 | strength of communication |
Rate the clarity of the overall communication.
|
Pet Project
Pet Project Photo Shoot 03
Take at least 10 photographs of your pet. Beyond documenting your pet, look for opportunities to make interesting images.
Post your images to a photo sharing site like Picasa or Flickr. Choose your favorite image and post it to the class blog with a link to your other photos. Explain what you did for this photo shoot and how you accomplished any special effects.
Some things to consider:
- point of view
- lighting
- close up
- unusual angles
Once you have posted to WordPress, submit a link to the post in I-Learn. To submit the link in I-Learn, click Pet Project | Photo Shoot 03 and then click on the Open button at the bottom of the I-Learn window.
Deadlines