Art 235 | Graphic Design
Project 05
Project 05
Pet Project
Introduction
Use a basic object as a symbol to share an idea. Over the semester, you will complete several photo shoots of the same object. This object will eventually need to be used as a symbol in conjunction with an article or essay. The images and article will be put together in a 16-page booklet.
Objective
- Learn to create and use interesting symbolic images to illustrate an article or essay.
Specifications
- 8 x 8 inches
- Full color
- 12 photographs, minimum
- Photo shoot documentation
- Workbook
- Behance post
- AV presentation
Requirements
Project Steps
All project steps are required to be completed in order to pass the class. The steps are designed to be completed in order.
- Step 01: Photo shoots: 7 throughout the semester
- Step 02: First Draft
- Step 03: Second Draft
- Step 04: Documentation and Final Submission
Workbook
In previous courses, a workbook template has been provided for you. In Art 235 | Graphic Design, you need to design your own format for your workbook. The size should be 10 inches wide by 8 inches tall. This is a standard size for a Blurb book if you would like to print one at the end of the course. Its purpose is to document your design process in a complete and organized fashion.
Include the following pages in the final workbook:

Project introduction
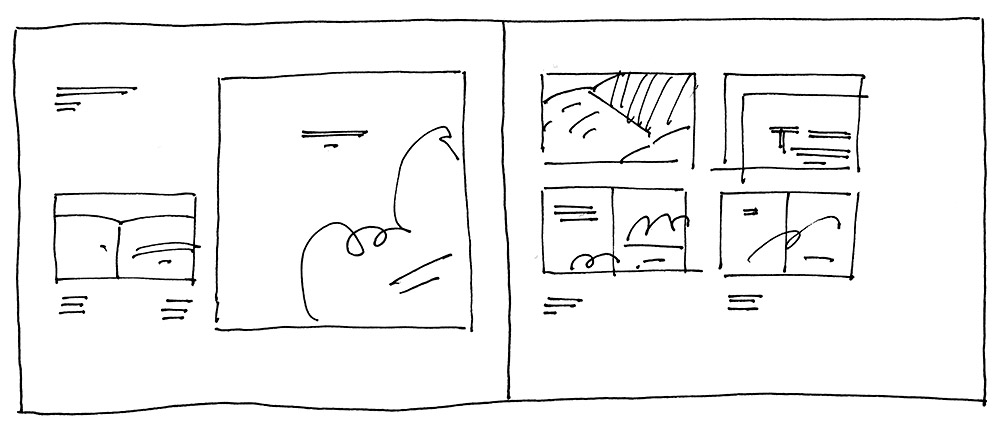
Portfolio Spread | This shows the completed project in its best light. Show the Pet Project with a title and a short description. It should stand alone if you aren’t there to explain it. (Placing a portfolio page at the beginning of the book helps a viewer understand where the project is going and puts the process in context.)
Project 5 Step 1
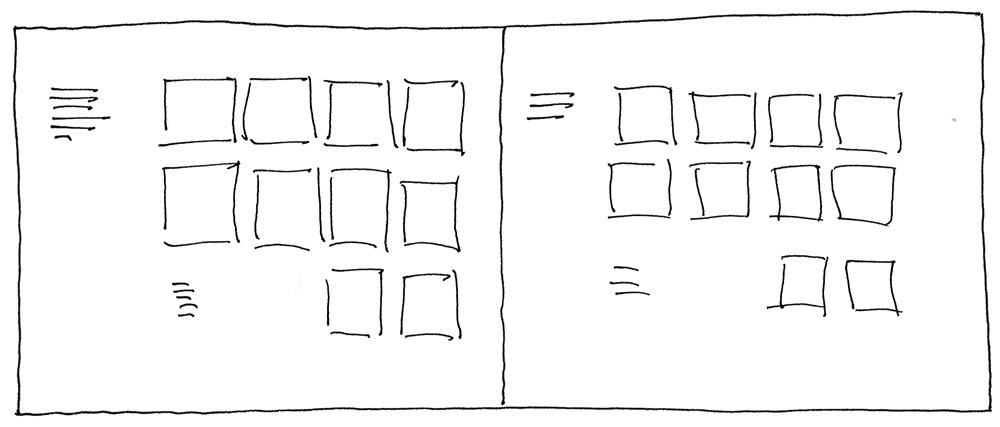
Photo shoots: 7 pages, one per shoot.
Project 5 Step 2

Article
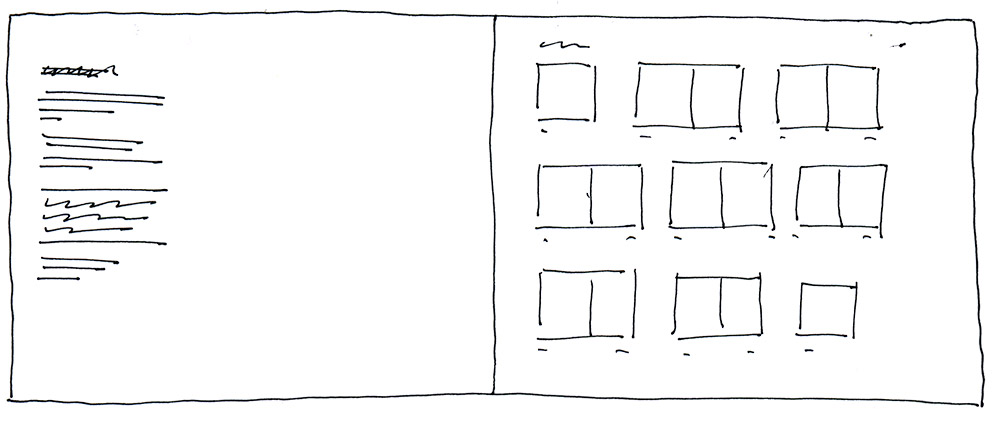
First draft (quarter-size) | A complete draft
blog post
Use the images and content you created for this step to write and design a blog post.
Project 5 Step 3

Second draft (half-size) | cover

Second draft (half-size) | Inside front cover & page 1 | Pages 2-3

Second draft (half-size) | pages 4-5 | Pages 6-7

Second draft (half-size) | pages 8-9 | Pages 10-11

Second draft (half-size) | pages 13-14 | Inside back cover-back cover
blog post
Use the images and content you created for this step to write and design a blog post.
Project 5 Step 4
Final draft (half-size) | cover
Final draft (half-size) | Inside front cover & page 1 | Pages 2-3
Final draft (half-size) | pages 4-5 | Pages 6-7
Final draft (half-size) | pages 8-9 | Pages 10-11
Final draft (half-size) | pages 13-14 | Inside back cover-back cover
blog post
Use the images and content you created for this step to write and design a blog post.
Portfolio Spread | This shows the completed project in its best light. Show the Pet Project with a title and a short description. It should stand alone if you aren’t there to explain it. (Placing a portfolio page at the beginning of the book helps a viewer understand where the project is going and puts the process in context.)

Conclusion | An overall concluding statement that sells your final and sums up the overall experience.
The project workbook should be completed and submitted as a PDF on the day the final project is due. You should keep a secure backup of your files to produce a finished comprehensive workbook.
Behance Post
Create a post on Behance. The purpose of a portfolio blog post is to present your final project in a manner that you would show it to a client/employer. Include the following:
- a 200-word presentation about the project, with a beginning, middle, and end
- a quality image
The post should be designed and encourage a reader to engage. Include paragraph breaks, subheads, or other typographic elements to make the post visually accessible.
AV Presentation
Record your final presentation.
- Presentation tips
- Prepare presentation in PowerPoint or Keynote (keep it simple)
- Prepare a script
- Record a final presentation and submit in iLearn
- 1–2 minutes
Craftsmanship
The highest level of craftsmanship is required in the production of the final webpage and workbook. The process step blog posts included in the workbook should be free from grammar and spelling errors.
Feedback
Providing feedback to other class members is required. A failure to provide timely and helpful comments will result in a project grade reduction.