Art 235 | Graphic Design
Project 03
Project 03
Soda Packaging
Introduction
Create packaging for a new soda. You will create the concept, labels, and carton. The system will include 4 bottles and a carrying carton for them. Each bottle should be a different flavor.
Objectives
- Extend your conceptual skills by creating a new product based on a theme.
- Gain experience designing in 3 dimensions.
Specifications
- Use long-necked soda bottles, clear or brown
- 4 labels that relate conceptually
- A carton that holds 4 bottles
- Final product photography
- Workbook
- Behance post
- AV presentation
Requirements
Project Steps
All project steps are required to be completed in order to pass the class. The steps are designed to be completed in order.
- Step 01: Concept Thumbnails
- Step 02: Label Concepts
- Step 03: Color Label Refinements
- Step 04: Soda Carton
- Step 05: Refinement
- Step 06: Documentation and Final Submission
Workbook
In previous courses, a workbook template has been provided for you. In Art 235 | Graphic Design, you need to design your own format for your workbook. The size should be 10 inches wide by 8 inches tall. This is a standard size for a Blurb book if you would like to print one at the end of the course. Its purpose is to document your design process in a complete and organized fashion.
Include the following pages in the final workbook:
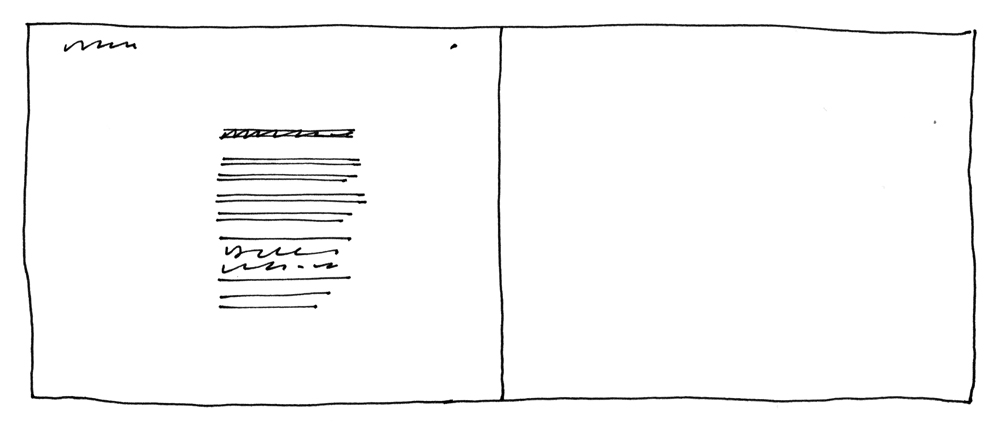
Title/Introduction Page | include: Project Title, introduction of the project in your own words, and your name. Always use the right-hand page for the title page.
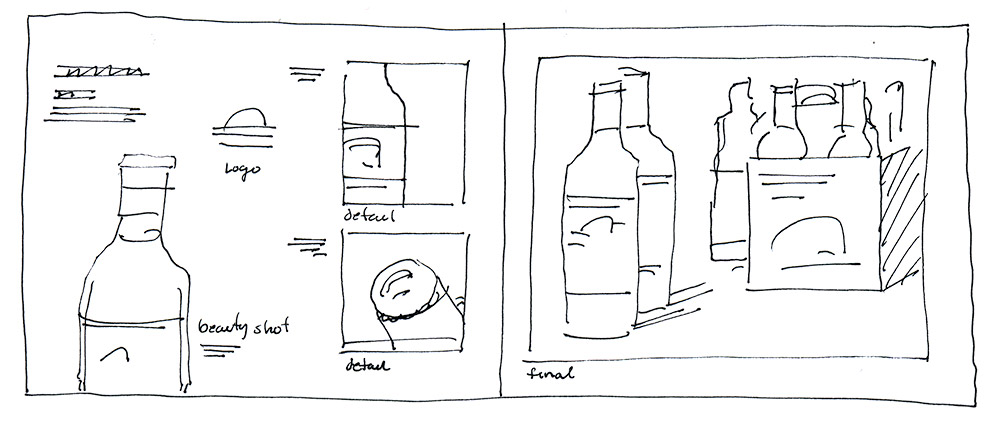
Portfolio Spread | This shows the completed project in its best light. Show the soda packaging (bottles and carton) with a title and a short description of the project. It should stand alone if you aren’t there to explain it. (Placing a portfolio page at the beginning of the book helps a viewer understand where the project is going and puts the process in context.)
Process workbook divider | Include the project title and a table of contents for the working process. You might also include information about where the project was completed, instructor name, and course name.
Project 3 Step 1
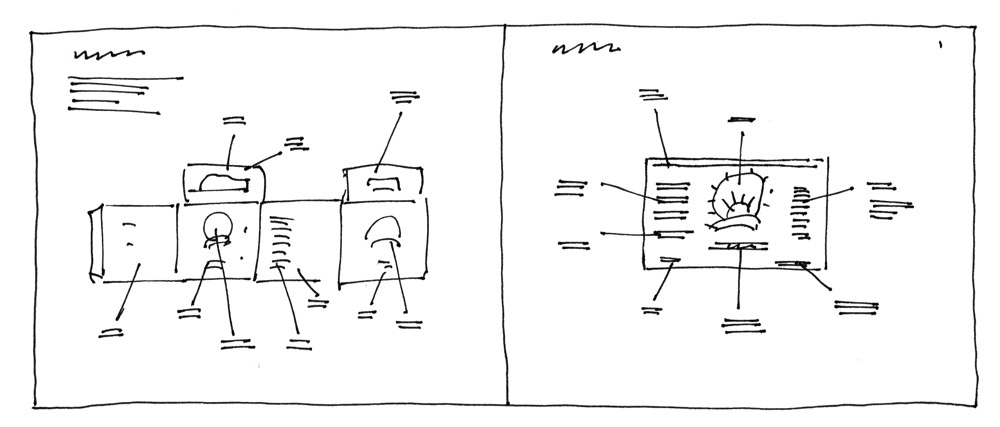
A. Identify what is on current soda cartons and labels | Finding out what already exists is a good place to begin a project. At a local store find a four pack of soda bottles. Photograph or sketch the packaging and then identify each element on the carton and labels. Make a list of all of the elements. This list will be a guide for you in creating your packaging.
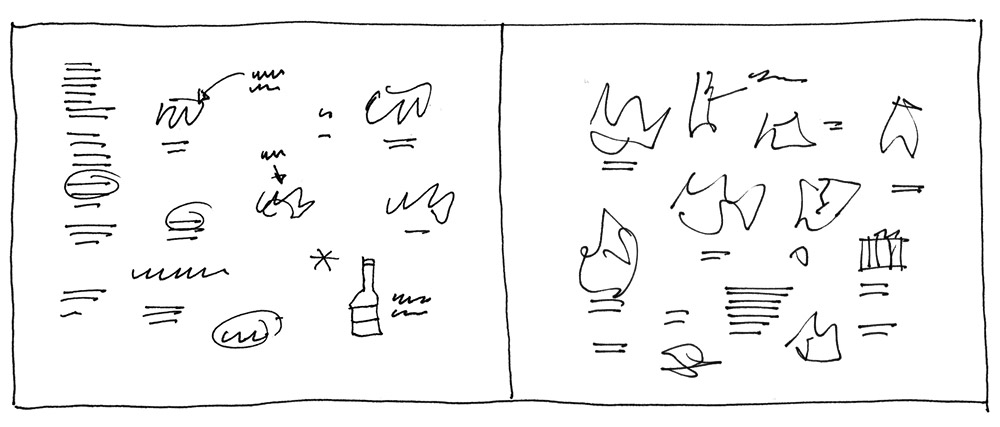
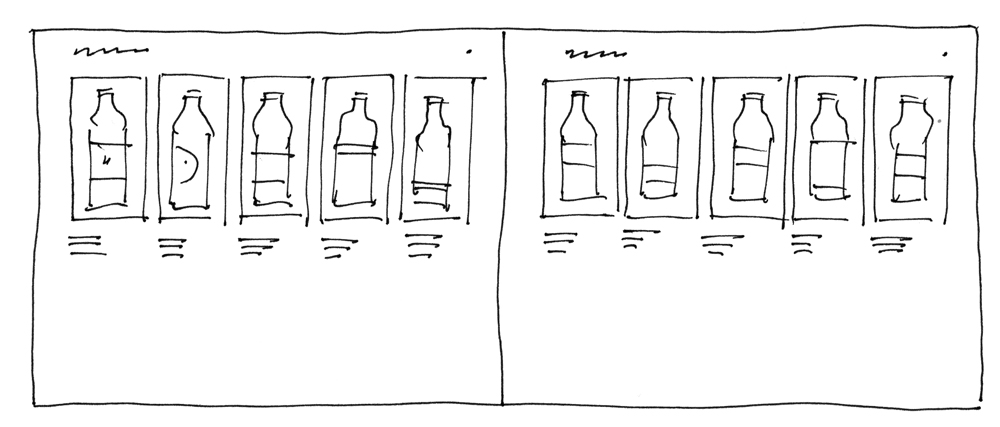
B. Explore possibilities | Sketches for 20 different theme ideas. Explore a wide range of possibilities in thinking about your themes. Try to come up with options that are based on a solid idea and not just a visual style. Feel free to explore beyond what would be realistic for the local grocery store. The goal of this assignment is to stretch beyond the ordinary.
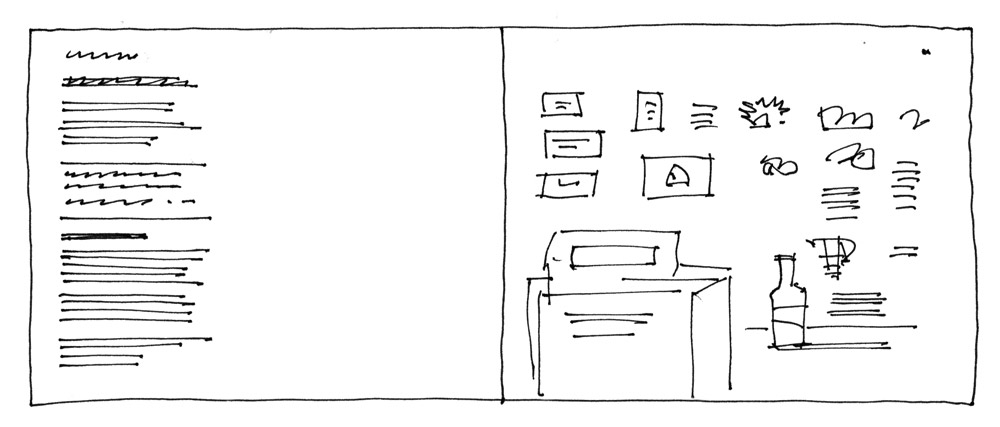
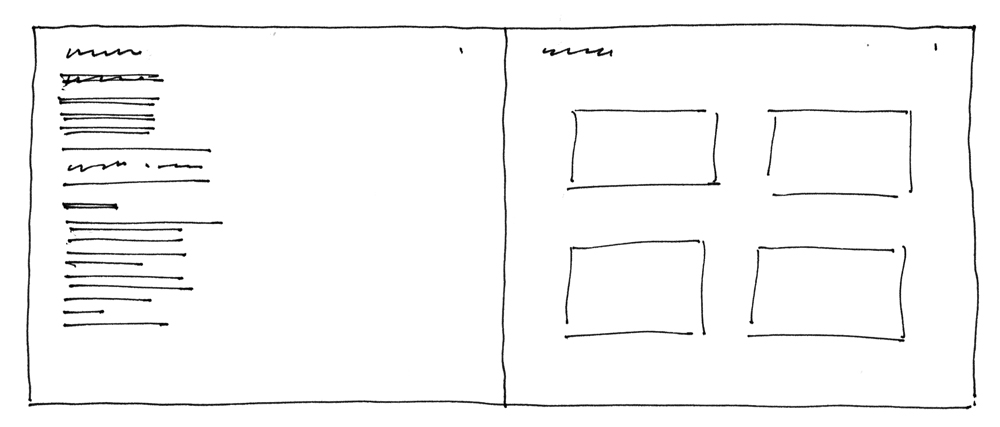
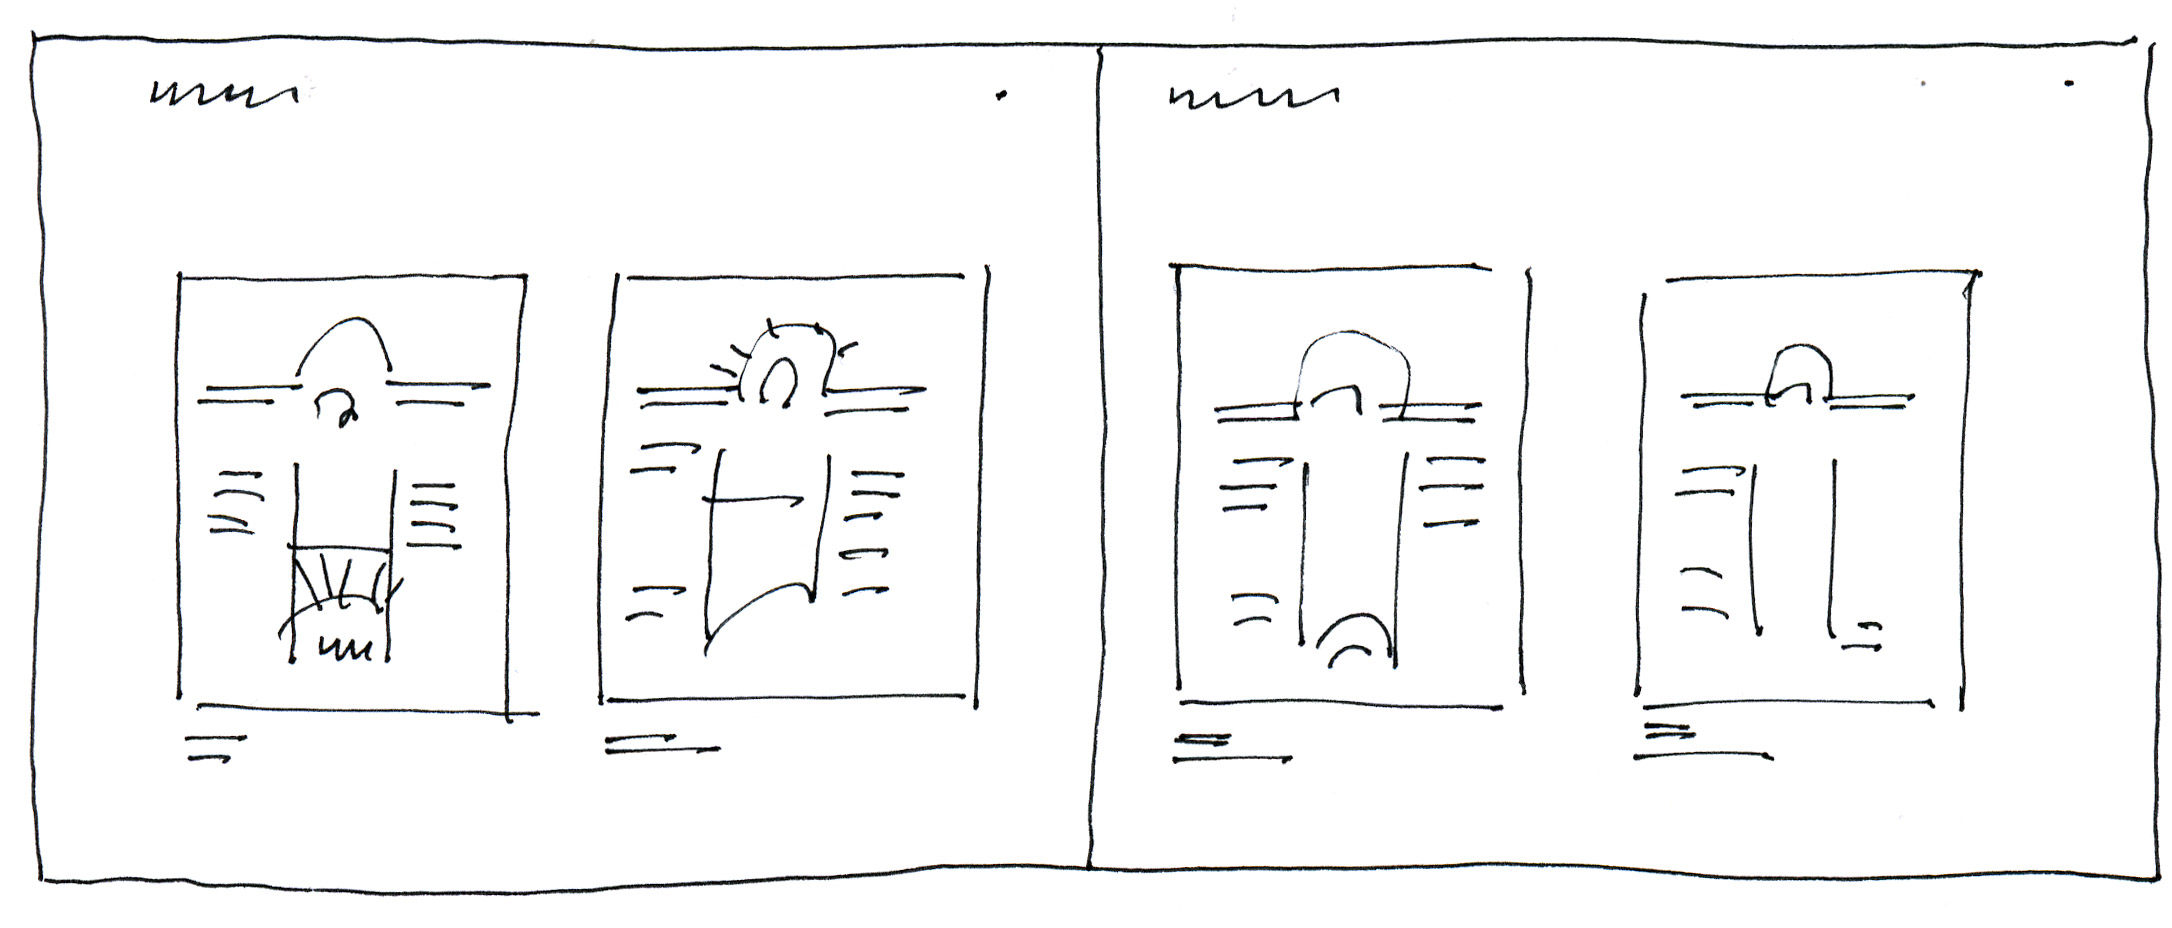
C. Refine 3 concepts | Choose three different concepts and explore them in more detail through sketching and words. The workbook pages shown show a page for each concept. Include writing and sketching to make the concepts clear.
blog post
Use the images and content you created for this step to write and design a blog post. Write an introductory statement that restates the project in your own words.
Project 3 Step 2
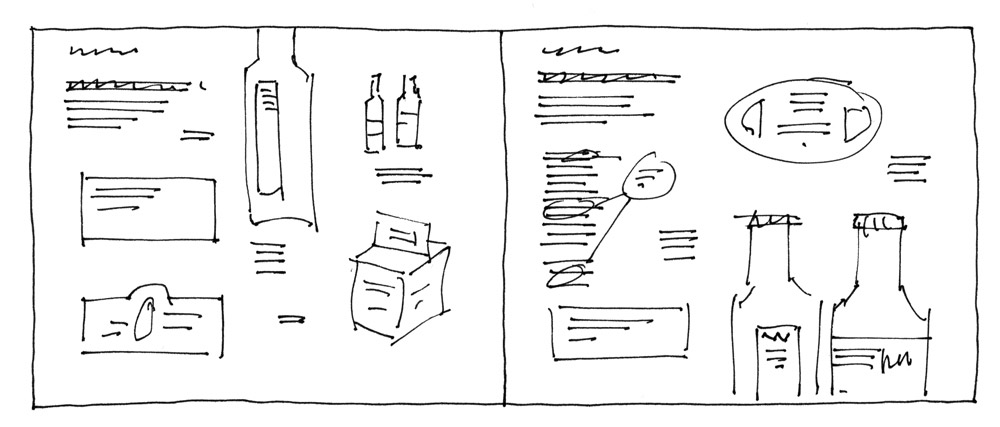
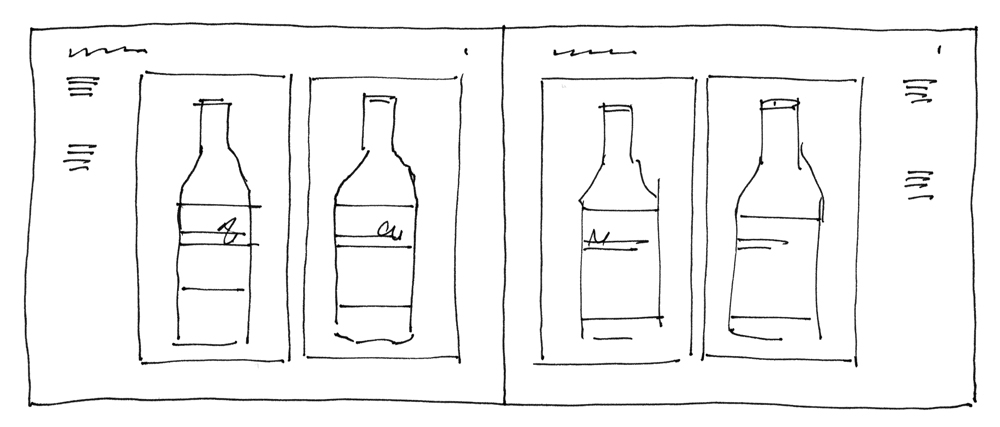
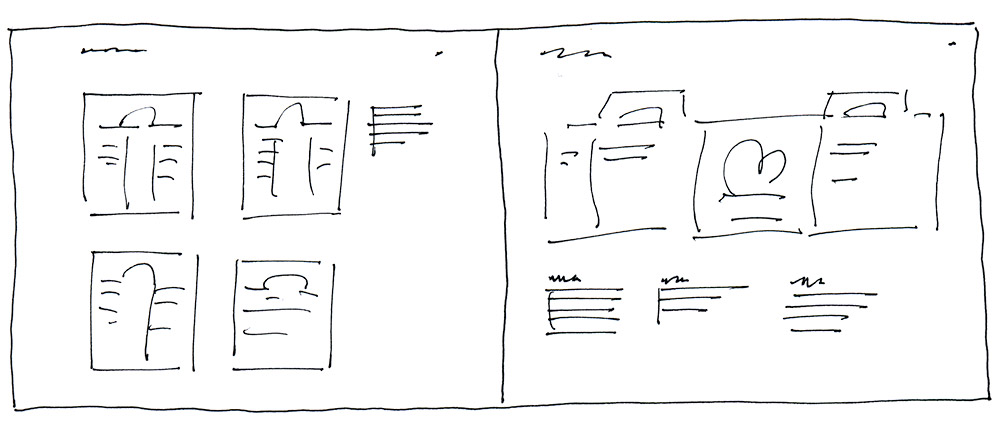
A. Flat Label sketches | Choose one concept from the previous step and sketch ten different labels. Refer to the package survey that you completed at the beginning of the project and include a place for each element in your sketches.
B. Photograph the labels on bottles | Print out your sketches and apply the labels to a real bottle. Take a photograph of each label on the bottle.
blog post
Use the images and content you created for this step to write and design a blog post. In the post answer the following question: What did you discover about designing in 3D that is different than 2D?
Project 3 Step 3
A. Color labels for each flavor | Design flat labels for each flavor
B. Photograph the labels on the bottles |
blog post
Use the images and content you created for this step to write and design a blog post. In the post answer the following question: What was the most challenging aspect of expanding the system into four flavors?
Project 3 Step 4
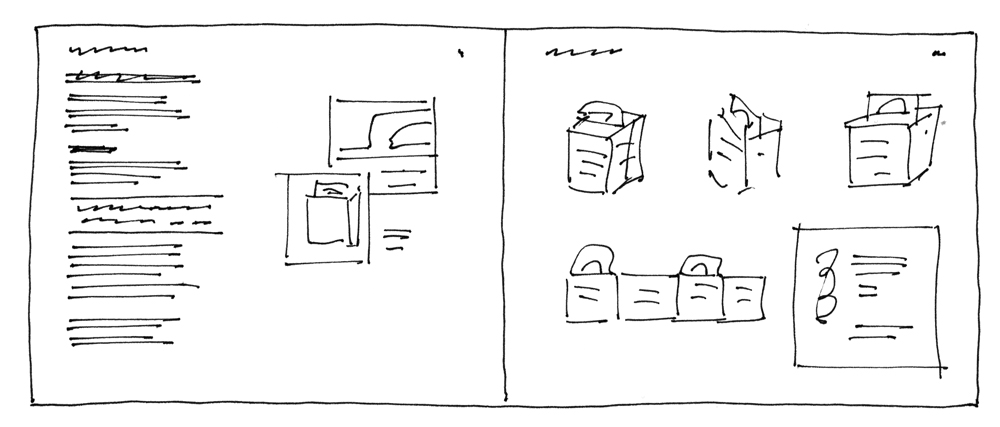
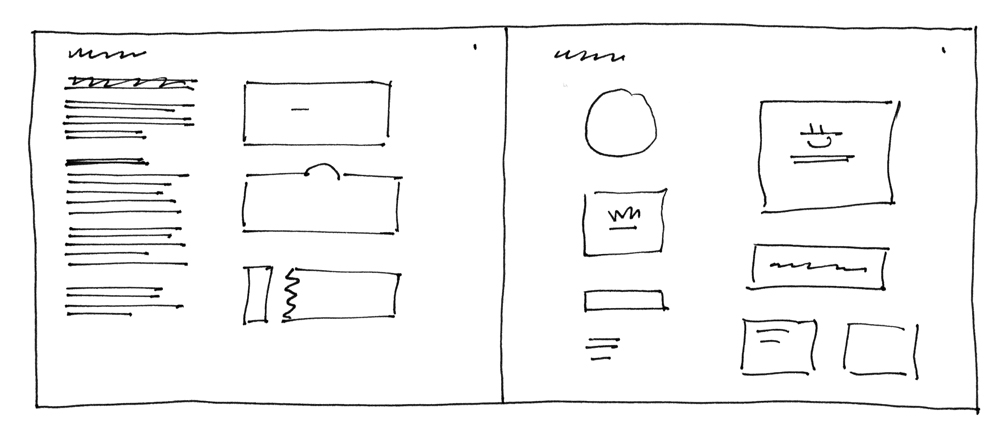
Sketches and refinement for the carton | Explore the possibilities of the carton through sketching. The carton should work for all four flavors. Develop at least two of the ideas as digital sketches.
blog post
Use the images and content you created for this step to write and design a blog post. In the post answer the following question: What challenges did you face trying to design a carton that would work for all four flavors?
Project 3 Step 5

Refinements | What do you still need to do to finish this package? | Refinements
blog post
Use the images and content you created for this step to write and design a blog post. In the post answer the following question: What do you still need to do to finish this package?
Project 3 Step 6
Portfolio Spread | Photograph the final packaging and create a spread that is suited for portfolio presentation. Use high quality photographs. Documenting your work can be a challenge but it is something that you need to work at to develop the skill.
Conclusion | An overall concluding statement that sells your final and sums up the overall experience.
blog post
Use the images and content you created for this step to write and design a blog post.Write a concluding statement that sells your final and sums up the overall experience.
The project workbook should be completed and submitted as a PDF on the day the final project is due. You should keep a secure backup of your files to produce a finished comprehensive workbook.
Behance Post
Create a post on Behance. The purpose of a portfolio blog post is to present your final project in a manner that you would show it to a client/employer. Include the following:
- a 200-word presentation about the project, with a beginning, middle, and end
- a quality image
The post should be designed and encourage a reader to engage. Include paragraph breaks, subheads, or other typographic elements to make the post visually accessible.
AV Presentation
Record your final presentation.
- Presentation tips
- Prepare presentation in PowerPoint or Keynote (keep it simple)
- Prepare a script
- Record a final presentation and submit in iLearn
- 1–2 minutes
Craftsmanship
The highest level of craftsmanship is required in the production of the final webpage and workbook. The process step blog posts included in the workbook should be free from grammar and spelling errors.
Feedback
Providing feedback to other class members is required. A failure to provide timely and helpful comments will result in a project grade reduction.